I needed muscles so I thought I would have to stuff them and sew them...but then I found a green sleeping bag at the thrift store for three bucks. My thinking? I figure, if I just sew a shirt out of this and stitch muscle lines into it, it will look awesome.

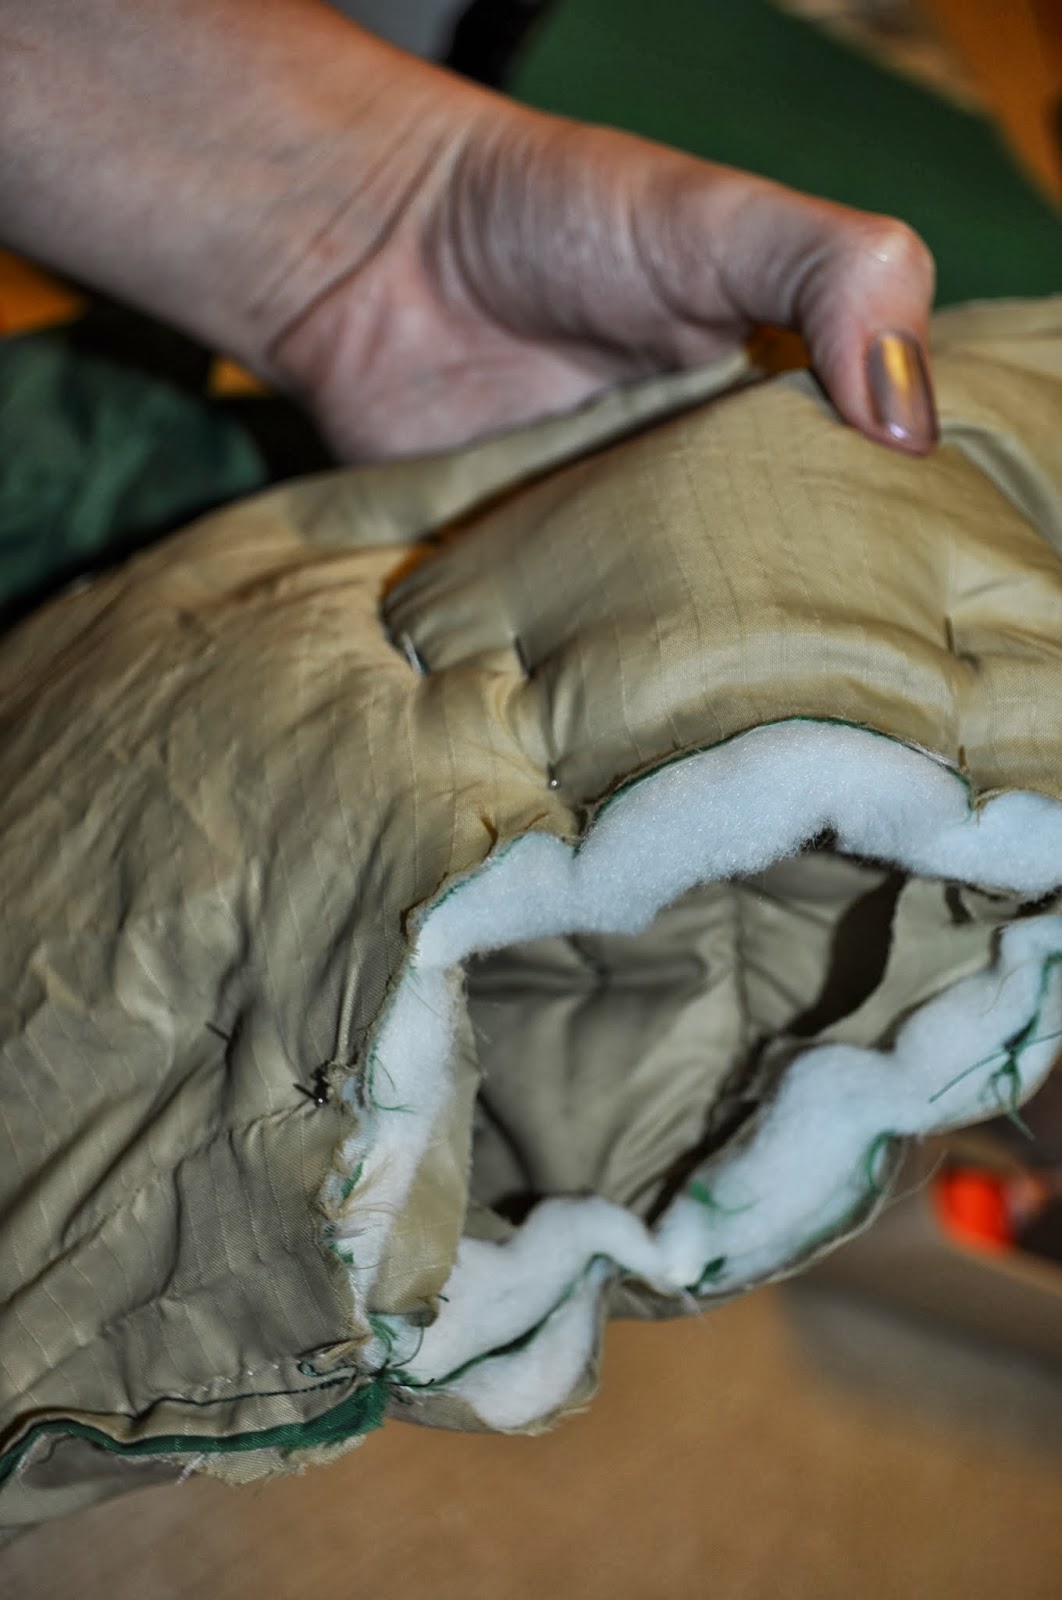
So I started by taking off the zipper. I was lucky, some sleeping bags have the zippers sewn into the seams, this one was sewn on after the bag was stitched up. One less seam I have to do.

No, I dont really ever sew. So I didnt have any patterns. No matter. You want to sew a shirt? Find a shirt that fits your subject. I needed one that was a little bigger to account for all the layers. Turn said shirt inside out and trace shape onto your fabric, allowing for extra inches for the seams on the bottom edge. You can use chalk...but I didnt want to have to re trace my lines so I just did permanent marker. I started with the front piece of the shirt.

Use pins all the way through your fabric to make sure you don't loose your sleeping bag guts. Then cut out your Tshirt front. The back, since the fabric does not stretch, needs to be in two pieces. You can use ties, or saftey pins, or elastic. Elastic is the best bet because your child WILL bend over, and if the sleeping bag is sew together like a regular shirt, the seams will RIP. I cut my two back pieces from the edge of the sleeping bag so I had one less seam to deal with. The sleeves get a bit tricky because you have to roll your shirt as you trace it to make sure you get the entire sleeve. Or as an afterthought, you can just fold your fabric in half, and then cut it. But I am such a goldfish that I do better with rolling the shirt because if I folded it, I would end up having the folded edge on the wrong side. ANYHOW...tangent over.

As I said before, the sleeping bag was an old one from the thrift store. Some parts of the batting were fatter than others. Im guessing this is because it had been washed and the batting shifted into random places. So I just dissected those areas and cut off the top layer of batting on the fat part to make it slightly more uniform.

Once you have all your pieces cut out then you have to decide where you want your muscle stitches to be. I took FOREVER trying to decide how to do it, this is what I came up with. Dont forget the curved line above the abs, it looks SO WEIRD without it. This is my poor PAINT representation of what I stitched on to the chest.


The back muscles I didnt do much to, I just put a curved line under each spot where the shoulder blades would be. Most people wont be looking at the back anyway. In the picture below, the right side is the left half of the back of the shirt. Sew the sides of the back to the sides of the front.

Now, you need to sew up your neckline before sewing the shoulders because the shoulders will be uneven on the front and back.

Sew your front to your back This is what mine looked like. See how much longer the back piece is?

This is my kiddo trying on the chest piece Looks pretty good, but it NEEDS sleeves.Yes it is long, but I did that so he could wear it longer, and tuck it in if needed. The back is still open, you can opt to sew on some elastic, but I just ended up safety pinning the top corner of one side of the back to the top of the other side of the back. Didn't bother with anymore safety pins because when he bent over they fell out anyway.

Now onto the sleeves. I started with a short sleeve shirt, so all I did was extend the sleeve till it was the same length as my sons arm. Then I had to figure out what to do for the muscle lines. I looked all over at muscle man pictures and finally came up with this.


Again, another poor PAINT representation of how I stitched the muscles. The arm was cut with the wrist portion on a seam so I had one less thing to stitch up as well. This is what my muscles ended up looking like. Take your arm and sew the long sides together to make a sleeve tube.

Now, to sew the arms to the arm holes on the muscle shirt. Hopefully you still have pins in your fabric around the sleeves, but if you dont, get some pins ready. Turn your whole shirt, inside out.
Now take your sleeve, DO NOT TURN IT INSIDE OUT. And put it inside the inside out chest portion. Yes, I know this is confusing, but stay with me. Pin the sleeve to the shirt. If you are confused on how to pin it, just pin it and then turn your shirt right side out. If the sleeve has its under arm seam on the outside, you pinned it wrong..

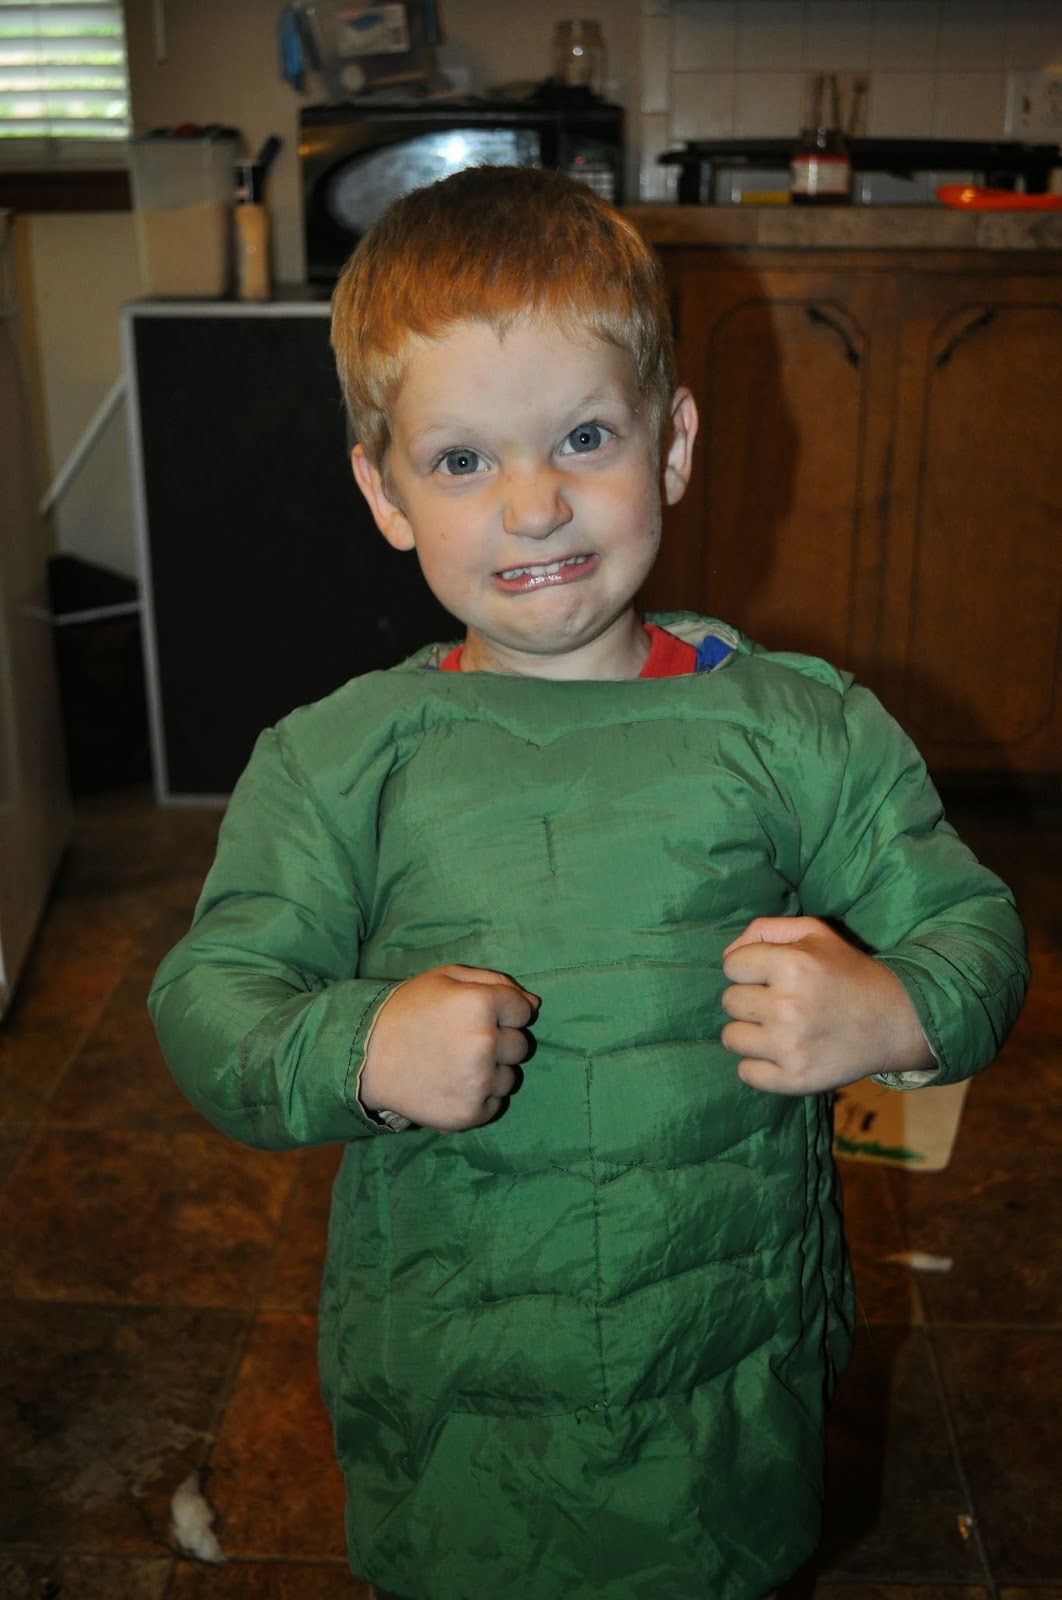
This is my finished shirt. The boy LOVES IT. He wears it all the time. The arm muscles are kinda hard to see, but they do add a nice touch when noticed.
Next I used the same tracing method with the pants, only I made them wide and put elastic in the waist. Then I decided he needed hulk feet. Cause Hulk doesn't wear shoes. And that is the one thing that store bought costumes always forget....the feet.
You can find my post on large costume feet here