
IT's always easier to start with a pattern, so I searched Paper Vader mask, and I found a picture of the print out for a mini Vader mask made out of paper on Google image search. I saved the image to my computer and then zoomed in till it was about the size I wanted and then traced the image onto paper directly from the monitor.
It's hard to make sense of the random shapes, but this top shape is the cheek bones, and the middle piece between the L shaped ones and the triangle is the out side of the mouth.


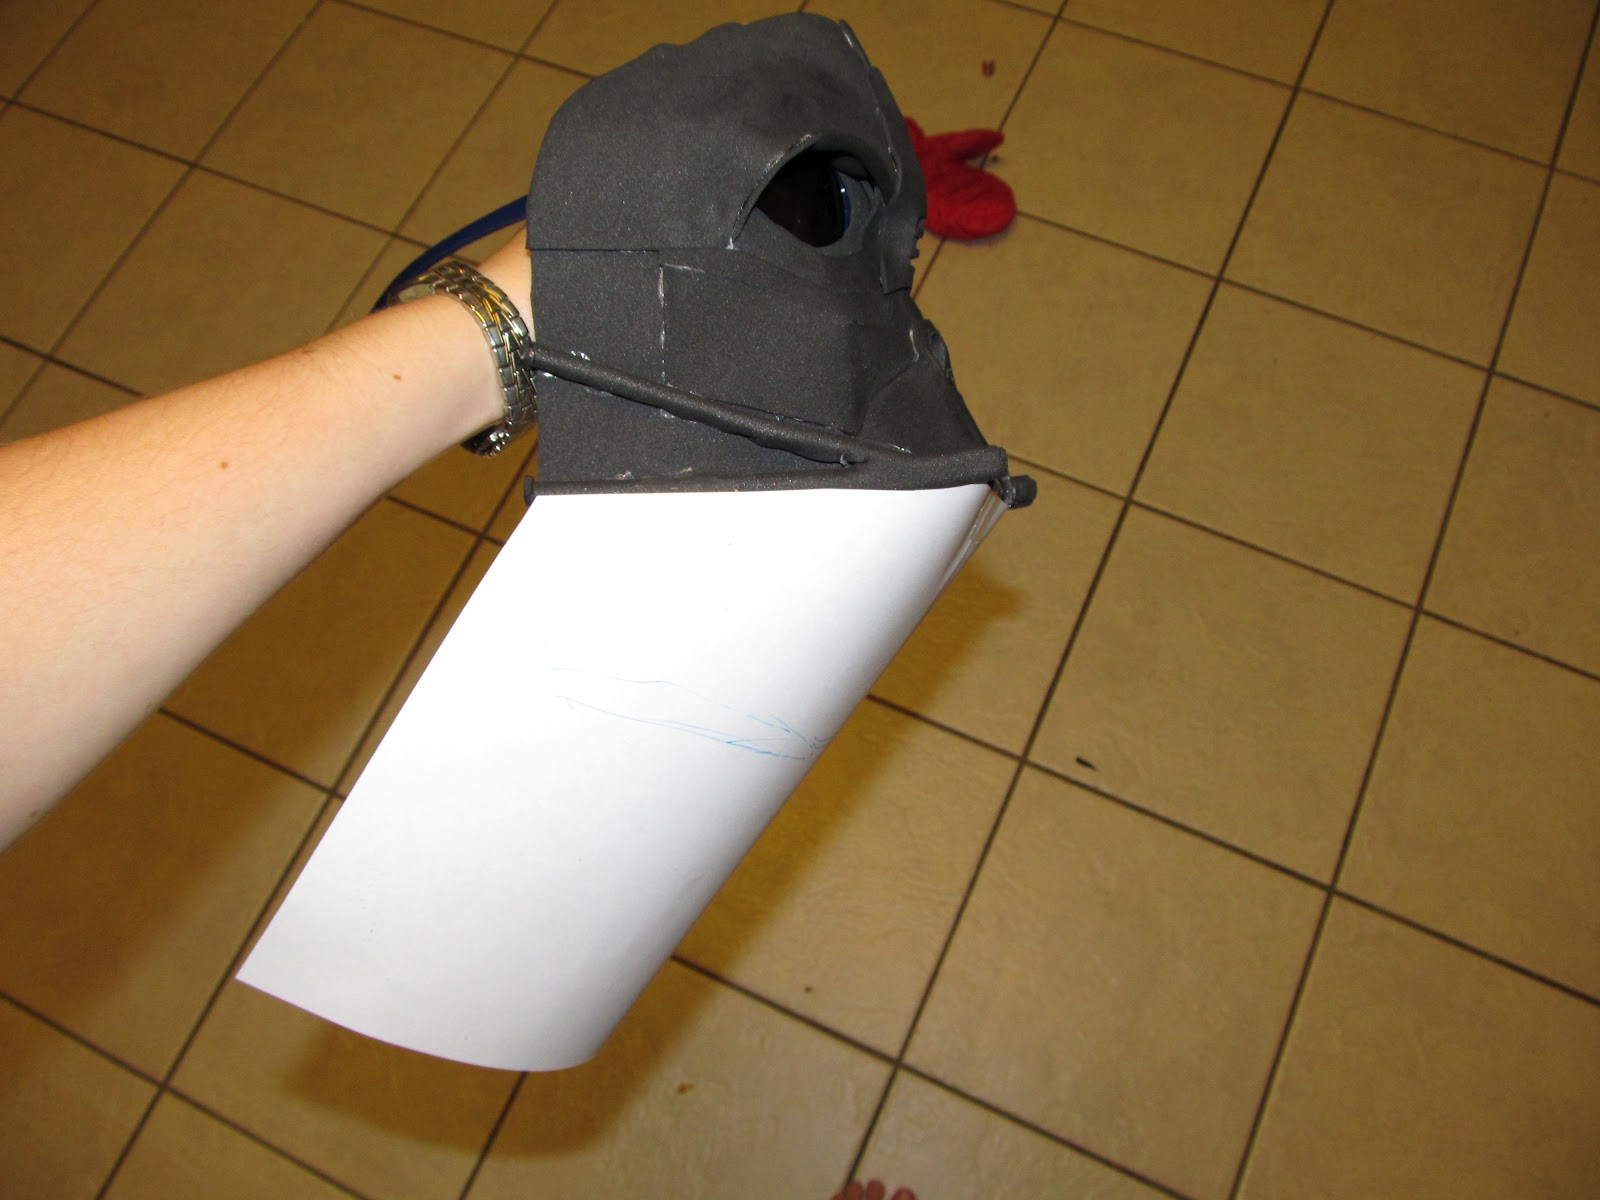
So in order to see what I actually needed I cut it out of paper and taped it all together

Turns out I really only needed these pieces. I used black craft foam, and you can manipulate it better than paper, so I changed some of the pattern pieces. Oh I guess I used the L shaped ones and the triangle ones,

This is just the top piece. I cut the nose piece bigger. To glue it I tapes the gaps shut on the out side, and then on the inside I used hot glue to close the seams

This is a view of the inside

I forgot to take a picture of the mouth piece separate from the cheek bones, but here they are together

To make teh concave piece for the nose I heated a small piece of foam and wrapped it around the end of my knife which had a great curve

The I ended up with this, then I just cut out the rounded piece for the nose


Now I had to guess for teh rest of the shapes, so I held up paper and marked it to the size I needed then cut it out and placed it on to see if it would work, like this

This is the shape I came up with

Instead if cutting it all the way out I only cut a slit in on the curved part of the line to give a rounded look to the eyebrow part.

Then I folded the "extra" part under on the line so it was the original shape. I heated it and gave it a round shape on a bowl.
To heat it just hold it a few inches over a burner on med heat till the foam goes limp, hold it over what you want to mold till it cools. With craft foam it only take s a few seconds

Then I found a curve going the opposit way to curve it up for the eyebrow-ish part just over his eyes.

Ah, see. Now you can see what I'm talking about. It worked, so I just cut one of and did it the opposite direction to go over the other eye. (9the eyes are sun glassed, but they are not attached yet, I just needed to see the shape.)

Now i have both eyes

Now for the nose

I placed the mask on a batman mask to help keep the shape stiff cause my 3 year old wouldn't let me hold it on his face (it's not hot, don't worry) :) then I heated the nose and shaped it to the mask

I used some wire for the tusks. A wire hanger would be just the right size
I cut a few pieces to fill in the gaps on the sides of the mask so I had something to glue the tusks to.
I cut a few pieces to fill in the gaps on the sides of the mask so I had something to glue the tusks to.

then wrap and glue the foam around it, and do the other one facing the opposite direction

Position and glue to the mask (you can see the final shape of the base of the mask as well. It doesn't have to be great, the helmet will cover most of it up)

Once I got the tusks on I cut them flush with the back edge of the mask. Then I cut out 6 small circles and glued them on each end to cover up the exposed wire.
You can see that the mouth does not sit straight, so I cut a piece of wire to go across the bottom of the triangle and glued it on the inside

Then I made some foam frames to go over the glasses to make it easier to glue in place. I had to use my made for plastic glue


I positioned them in and glued the foam to the foam on the inside. now I went to the eyes, remember the slit that I cut in the eye brow piece. I put glue on the bigger piece then laid the triangle piece on top of it to make the cavity for the eyes.

The triangle piece hung over a bit so I had to trim it up . Then I taped paper to the bottom to figure out the shape for teh bottom piece
This is the final shape, can you see the upside down triangle drawn in the middle?

I heated this piece and molded it over the card board form to make the bottom triangle of the mask

To get the cross mesh look I scored it with a nail. An x-acto would have cut to far in. You can also use a black ball point pen. I used the pin to do the out line. It defines the lines a little better.

Bottom piece glued on

To reinforce the glue joints and stiffen the mask a bit I took strips of fabric (I happen to have black) and mixture of elmers glue and a little bit of water and applied it like paper mache. (about 3:1 glue:water, but I never measure, you just need to thin it enough to make it paint with out leaving big brush strokes)

Then I used the same glue mixture to paint the out side. This seals the foam, and gives it a plastic look. It also acts as a primer if you want/need to paint. I ended up doing 2 or 3 coats. (let it dry completely between each coat)

I didn't paint the glue over the lines that I scored in the foam because I wanted the extra depth and texture.

Last step, a little grey accent on the end of the tusks and in the nose
And I decided not to use the black gloss paint for the mask cause the glue gave it a bit of a gloss.
COMPLETE MASK AND HELMET!!!

$2.67 for the sun glasses $0.75 for the craft foam
Total cost of mask $3.42
UPDATE:
Here are just the pieces that I used from the original pattern. Everything else I had to fill in my self. But this is the cheek bones, and mouth part.
Save the image to your computer and print it as large as you can on a 8 1/2 x 11 piece of paper, and it should be about the right size for a child. OR if you need it slightly bigger then zoom in a little and trace it right off the screen. white tissue paper works great for this. Good luck!!!
Save the image to your computer and print it as large as you can on a 8 1/2 x 11 piece of paper, and it should be about the right size for a child. OR if you need it slightly bigger then zoom in a little and trace it right off the screen. white tissue paper works great for this. Good luck!!!

Do you happen to have a pattern of the pieces you used to make the mask? I know you said you wound up only having to cut out some of them on those sheets and not all, if you happen to remember, or better yet have the file still of the re-sized and redrawn pieces that would be incredibly helpful. I said I would attempt this for my son and we were cruising right along until I got to the mask... now I want to go run and hide! You did a really great job!
ReplyDeleteI just commented on the post, but I meant to reply so you would get a notification. updated the post, hope it helps!
DeleteThank you! I know that piece is really intimidating. It's a make or break piece for the costume. Let me go through my patterns and see what I can find!
ReplyDeleteok, Andrea, I unfortunately did not keep my pattern from last year. But I did edit the picture of the pattern for the main part of the mask. Try printing that as big as you can on a piece of paper. That should give you a good starting place. I suggest tapping the pattern together first to check size before you cut into your craft foam. Good luck!!
ReplyDeleteTHANK YOU!!! I just now saw your responses. Not sure why I didn't get a notification. Anyway! I did wind up finding the website that you got the pattern from (http://piromodel.fc2web.com/vader2/test.html), at least I think I did. That kind of helped me figure out and see how it fit together. I did a trial run at piecing it together with paper. I have yet to cut the foam... but I'm going to give it a go! Thanks for your tutorial! :)
ReplyDeleteAnd all your help in response to my questions!
ReplyDeleteThis is cool!
ReplyDeleteThis is my first time visit here. From the tons of comments on your articles,I guess I am not only one having all the enjoyment right here! gucci occhiali uomo
ReplyDeleteGreat job for publishing such a beneficial web site. Your web log isn’t only useful but it is additionally really creative too. There tend to be not many people who can certainly write not so simple posts that artistically. Continue the nice writing occhiali da vista uomo gucci
ReplyDelete