Showing posts with label Patterns. Show all posts

Tuesday, October 30, 2012

Homemade Lederhosen with out a pattern

I just wanted an excuse to carry around one of my instruments this Halloween, so I decided to make Lederhosen and go as a member of a polka band. 

No pattern? No problem!

Took my favorite pair of shorts that fit me really well and turned them inside out. Stuffing one leg inside the other.

I tapered the legs a bit cause I wanted them slightly more fitted. Also made them plenty long on the bottom so I could have a 2 inch cuff below the knee

Cut 2 front and 2 back. leaving room for a seem allowance. 

NOTE: Always cut BIG. You can trim it down later if you need to, but you can't always add fabric

 Sew the legs together by sewing one front to one back with right sides together. (you can tell the front from the back cause the back piece will have a deeper curve for the crotch piece. Or you can make them uniform...it's just a costume after all :)
 I cut mien too small. I could put them on, but they were SUPER tight, so I added a 2 inch strip down the out side. Which I ended up liking better anyway. :)
 Now turn one leg right side out and one inside out. Stuff the right side out leg into the inside out leg. 
 Line of the crotch pieces and pin together starting with the middle first so your in seems line up
 Since I cut them straight at the top and a waist line is curved, I put them on and folded over where I wanted the waist band to go. Pined it down and then cut along the fold. 
 To make them more fitted and less like sweat pants I put them on inside out and marked where I wanted the darts in the back (which by the way is nearly IMPOSSIBLE to do by your self). I I got a general idea of shape, placement, and size by looking in the mirror and then just eye balled it. 
I looked adn measured before I sewed to make sure the darts were straight and centered. And I got it just right. Whew!

Then I moved on to the embroidery. My mom has an Embroidery machine, so my plan was to go over and use it. Well....plans changed, she has been sewing like crazy getting ready for a wedding, so I had to go another route.

I drew up what I wanted it to look like with the help of Google Image search
 Then cut out around the shaped and traced them with a pen on my fabric, then I just filled in the lines when I took the paper off free hand. 
 Then I put in some nice orange thread and just sewed over the lines I had drawn...making it up as I go at some points :)


 Then I put the arrow shaped ones on the pants to mark where I needed to cut

 Right sides together I sewed the back on the arrow parts, then turned them right side out and dud a top stitch all the way around
 Did the same with the rectangle piece, but I left the bottom open so I could sew the arrow pieces into it. 
 Then I had to zig-zag stitch all around the waist and fly to keep it from unraveling, and added the waist band. It was just a long strip the length of my waist and about 4 1/2 inches wide. Then I put a top stitch on for decoration and to hold everything down. 
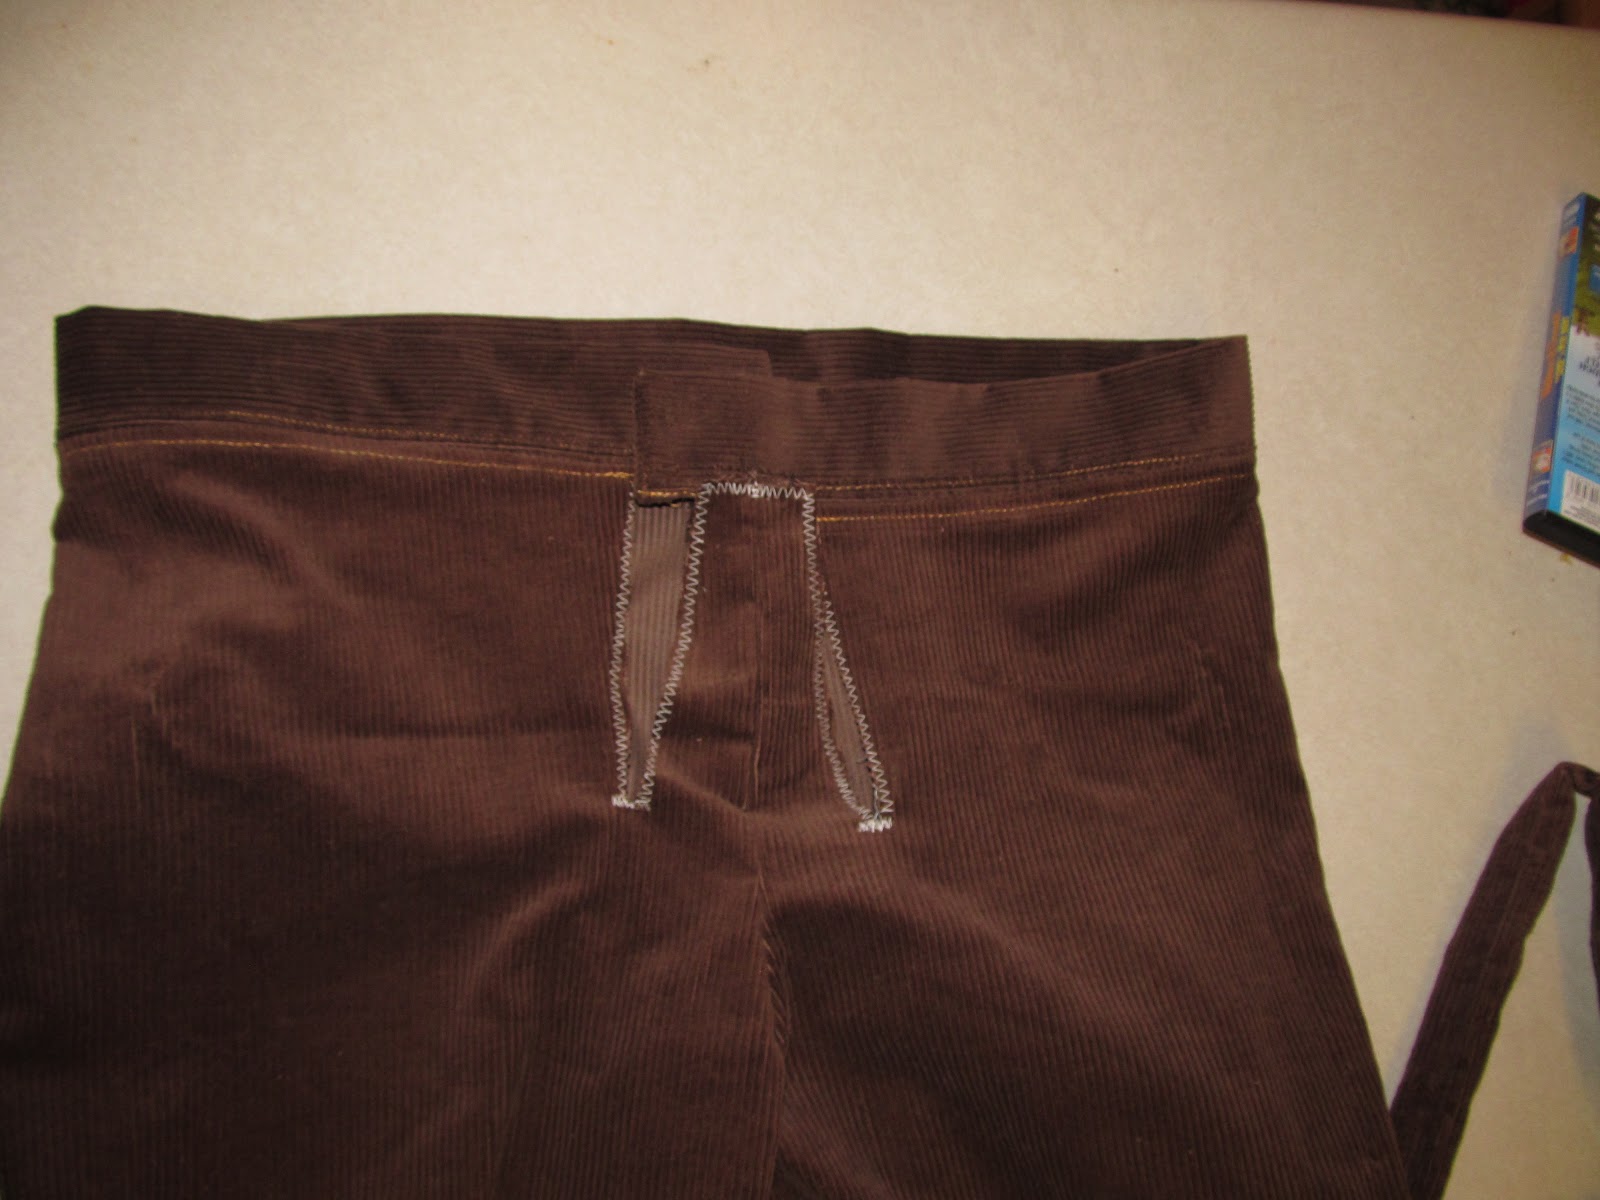
 Place the arrow pieces on and sew them toe the flap of the fly
 Then I did a totally unnecessary decorative stitch to accent it
 Slip the arrow pieces in the rectangle piece and sew them together with a top stitch going across the bottom of the rectangle. 

I added the suspenders next, making sure they were loose enough so I could bend over. I sewed them on, then added the buttons. Only one is actually useful  the one on the waist band. All 12 of the others are purely decoration. And with 13 buttons I'm SO glad I learned how to do it on my Machine. If you haven't done it yet, pull out your manual and try it! It's SO easy and saved so much time. 

I ended up using velcro to keep the fly up cause I sewed the button holes in too high, but it works great. 
 See, the buttons totally make this costume.
 Lederhosen has buckles on the straps. I didn't have buckles but I did have some D loops that fit, so I threw them on  just for kicks. 

NOTE: I don't ever throw a bag or belt away with out first ganking off all the straps buckles hooks or any other hard ware I can find. It comes in handy!
...now I just need to learn how to yodel...

Monday, October 15, 2012

Glove pattern

So I was going to make some cool gloves for the Darth Vader costume, that extend up the arm and have that little flare thing going on like Vader's gloves. I found this glove pattern on Google Image Search, and all I had to do differently was add the extended portion. 


So I cut them out this morning and then as I was starting to zig zag around the edges so the fabric I got wouldn't fray I remembered something. I HATE sewing TINY details. And to make these for a 3 year old, they are quite small...so I stopped  I'm going to opt for $.97 black knit gloves from Wal Mart. . But I thought I'd share the pattern any way. 

Remember the trick of saving the image to your computer, then zoom in or out till you get the size you want, then trace it off the screen. 

Thursday, September 27, 2012

Craft Foam Vader Mask (on a pair of sun glasses)

IT's always easier to start with a pattern, so I searched Paper Vader mask, and I found a picture of the print out for a mini Vader mask made out of paper on Google image search. I saved the image to my computer and then zoomed in till it was about the size I wanted and then traced the image onto paper directly from the monitor. 
It's hard to make sense of the random shapes, but this top shape is the cheek bones, and the middle piece between the L shaped ones and the triangle is the out side of the mouth.


So in order to see what I actually needed I cut it out of paper and taped it all together

Turns out I really only needed these pieces. I used black craft foam, and you can manipulate it better than paper, so I changed some of the pattern pieces. Oh I guess I used the L shaped ones and the triangle ones, 

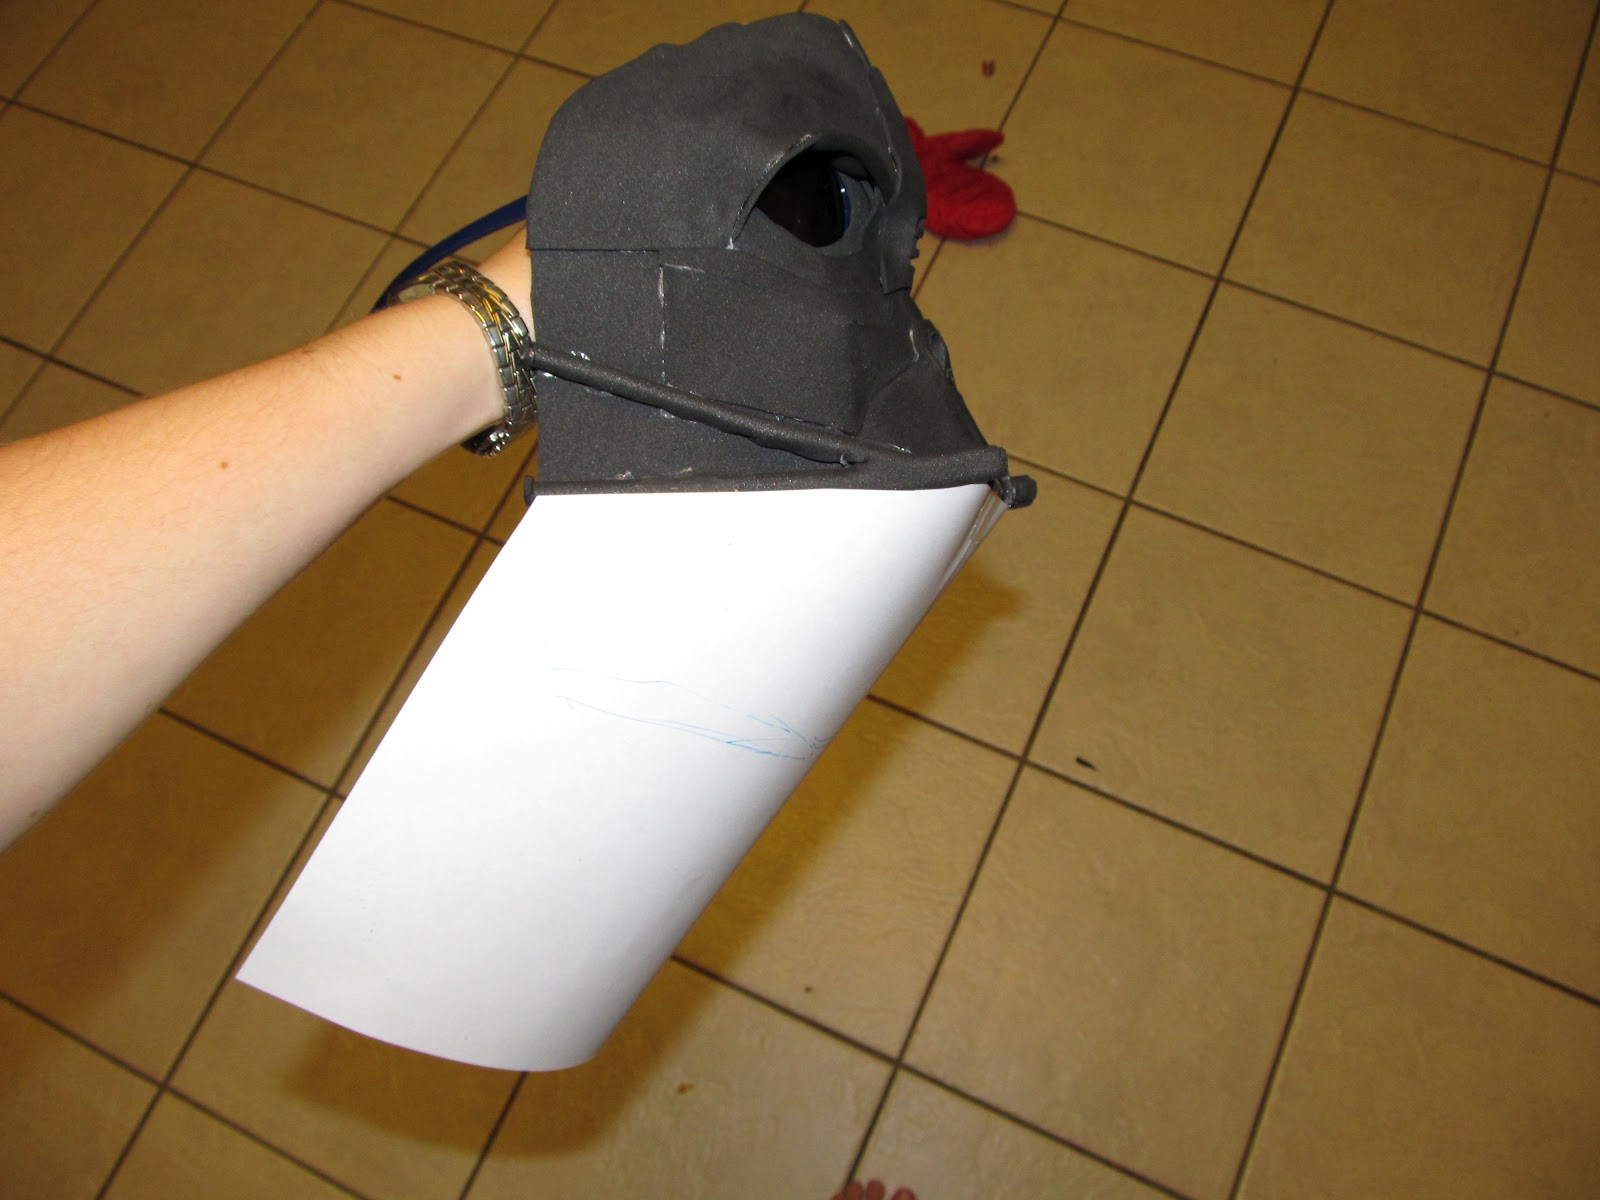
This is just the top piece. I cut the nose piece bigger. To glue it I tapes the gaps shut on the out side, and then on the inside I used hot glue to close the seams

 This is a view of the inside
I forgot to take a picture of the mouth piece separate from the cheek bones, but here they are together
 To make teh concave piece for the nose I heated a small piece of foam and wrapped it around the end of my knife which had a great curve
 The I ended up with this, then I just cut out the rounded piece for the nose


 Now I had to guess for teh rest of the shapes, so I held up paper and marked it to the size I needed then cut it out and placed it on to see if it would work, like this
This is the shape I came up with
Instead if cutting it all the way out I only cut a slit in on the curved part of the line to give a rounded look to the eyebrow part.
 Then I folded the "extra" part under on the line so it was the original shape. I heated it and gave it a round shape on a bowl. 
To heat it just hold it a few inches over a burner on med heat till the foam goes limp, hold it over what you want to mold till it cools. With craft foam it only take s a few seconds
 Then I found a curve going the opposit way to curve it up for the eyebrow-ish part just over his eyes.
 Ah, see. Now you can see what I'm talking about. It worked, so I just cut one of and did it the opposite direction to go over the other eye. (9the eyes are sun glassed, but they are not attached yet, I just needed to see the shape.)

 Now i have both eyes
 Now for the nose
 I placed the mask on a batman mask to help keep the shape stiff cause my 3 year old wouldn't let me hold it on his face (it's not hot, don't worry) :) then I heated the nose and shaped it to the mask
 I used some wire for the tusks. A wire hanger would be just the right size
I cut a few pieces to fill in the gaps on the sides of the mask so I had something to glue the tusks to. 
 then wrap and glue the foam around it, and do the other one facing the opposite direction 
 Position and glue to the mask (you can see the final shape of the base of the mask as well. It doesn't have to be great, the helmet will cover most of it up)
Once I got the tusks on I cut them flush with the back edge of the mask. Then I cut out 6 small circles and glued them on each end to cover up the exposed wire.
 You can see that the mouth does not sit straight, so I cut a piece of wire to go across the bottom of the triangle and glued it on the inside
 Then I made some foam frames to go over the glasses to make it easier to glue in place. I had to use my made for plastic glue 

 I positioned them in and glued the foam to the foam on the inside. now I went to the eyes, remember the slit that I cut in the eye brow piece. I put glue on the bigger piece then laid the triangle piece on top of it to make the cavity for the eyes.
 The triangle piece hung over a bit so I had to trim it up . Then I taped paper to the bottom to figure out the shape for teh bottom piece

This is the final shape, can you see the upside down triangle drawn in the middle?

 I heated this piece and molded it over the card board form to make the bottom triangle of the mask
 To get the cross mesh look I scored it with a nail. An x-acto would have cut to far in. You can also use a black ball point pen. I used the pin to do the out line. It defines the lines a little better. 
 Bottom piece glued on
 To reinforce the glue joints and stiffen the mask a bit I took strips of fabric (I happen to have black) and  mixture of elmers glue and a little bit of water and applied it like paper mache. (about 3:1 glue:water, but I never measure, you just need to thin it enough to make it paint with out leaving big brush strokes)

 Then I used the same glue mixture to paint the out side. This seals the foam, and gives it a plastic look. It also acts as a primer if you want/need to paint. I ended up doing 2 or 3 coats. (let it dry completely between each coat)
 I didn't paint the glue over the lines that I scored in the foam because I wanted the extra depth and texture.
 Last step, a little grey accent on the end of the tusks and in the nose
And I decided not to use the black gloss paint for the mask cause the glue gave it a bit of a gloss.
 COMPLETE MASK AND HELMET!!!


$2.67 for the sun glasses $0.75 for the craft foam
Total cost of mask $3.42


UPDATE: 
Here are just the pieces that I used from the original pattern. Everything else I had to fill in my self. But this is the cheek bones, and mouth part.

Save the image to your computer and print it as large as you can on a 8 1/2 x 11 piece of paper, and it should be about the right size for a child. OR if you need it slightly bigger then zoom in a little and trace it right off the screen. white tissue paper works great for this. Good luck!!!